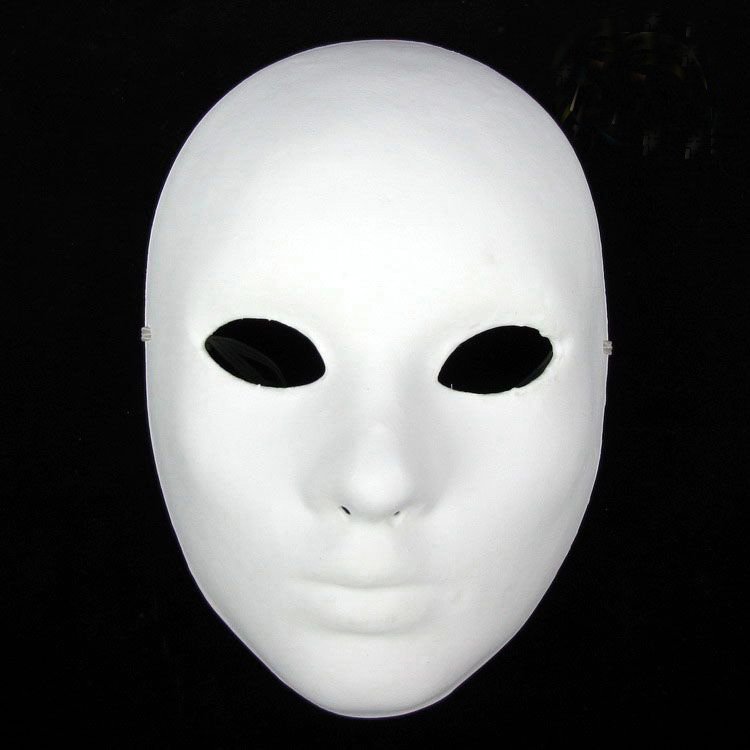
I started with a plain white mask from Michaels, similar to this one:
 |
| Via |

Then I went to work on the front. I sketched out the basic design in pencil first, then traced over it with Sharpie markers. I used a turquoise marker to match the dress, along with pink, black, and silver.

My initial thought was that silver coordinated more than gold would. I was going to leave it like that, but after my costume search I decided to try it with gold instead. I got a tube of gold puff paint to cover up the silver lines. As you can see, it was kind of tricky to get an even flow at first.

Still, I think it came out pretty well. I was looking at the mask this morning and realized that I had forgotten the line directly underneath the left eye, so I went back and added that in. I also did another thin line on the left to match the thicker line on the right and added a big glob above the nose to match the texture of the original mask from the show.

I may even go back and add more in the little spot above the nose, but first I need to see how it looks when the paint is fully dried.
Stay tuned--next time there will be pictures of the dress, including my first time trying it on after tearing it up.
No comments:
Post a Comment